


These days, I think we ALL deserve to find some peace and inspiration. This public health crisis IS SCARY and it is causing stress for everyone. So, how can I help from my suburban garden in North Carolina?
That probably seems like a loaded question. In all honesty I have no idea how to heal and adjust to life in the era of Covid-19. Each day, I face the news like everyone else: full of confusion and dismay and wonder “WHY THE HELL WE AREN’T ALL TAKING THIS MORE SERIOUSLY?” I get mad and frustrated and disappointed. Then, I gather my thoughts and go to my garden where I reflect with gratitude for waking up, and having this moment to share whatever talents I posses and hope that maybe a simple act of virtual kindness will make a difference in someone’s life.
So today’s blog post isn’t about growing food or victory gardening. Instead, it is about taking a little time to find joy in a simple form, and slow down, and be creative and enjoy the season we are living in.
*Due to USER ERROR technical difficulties, this post has been delayed. I get discouraged easily on the computer. Fingers crossed it works this time!
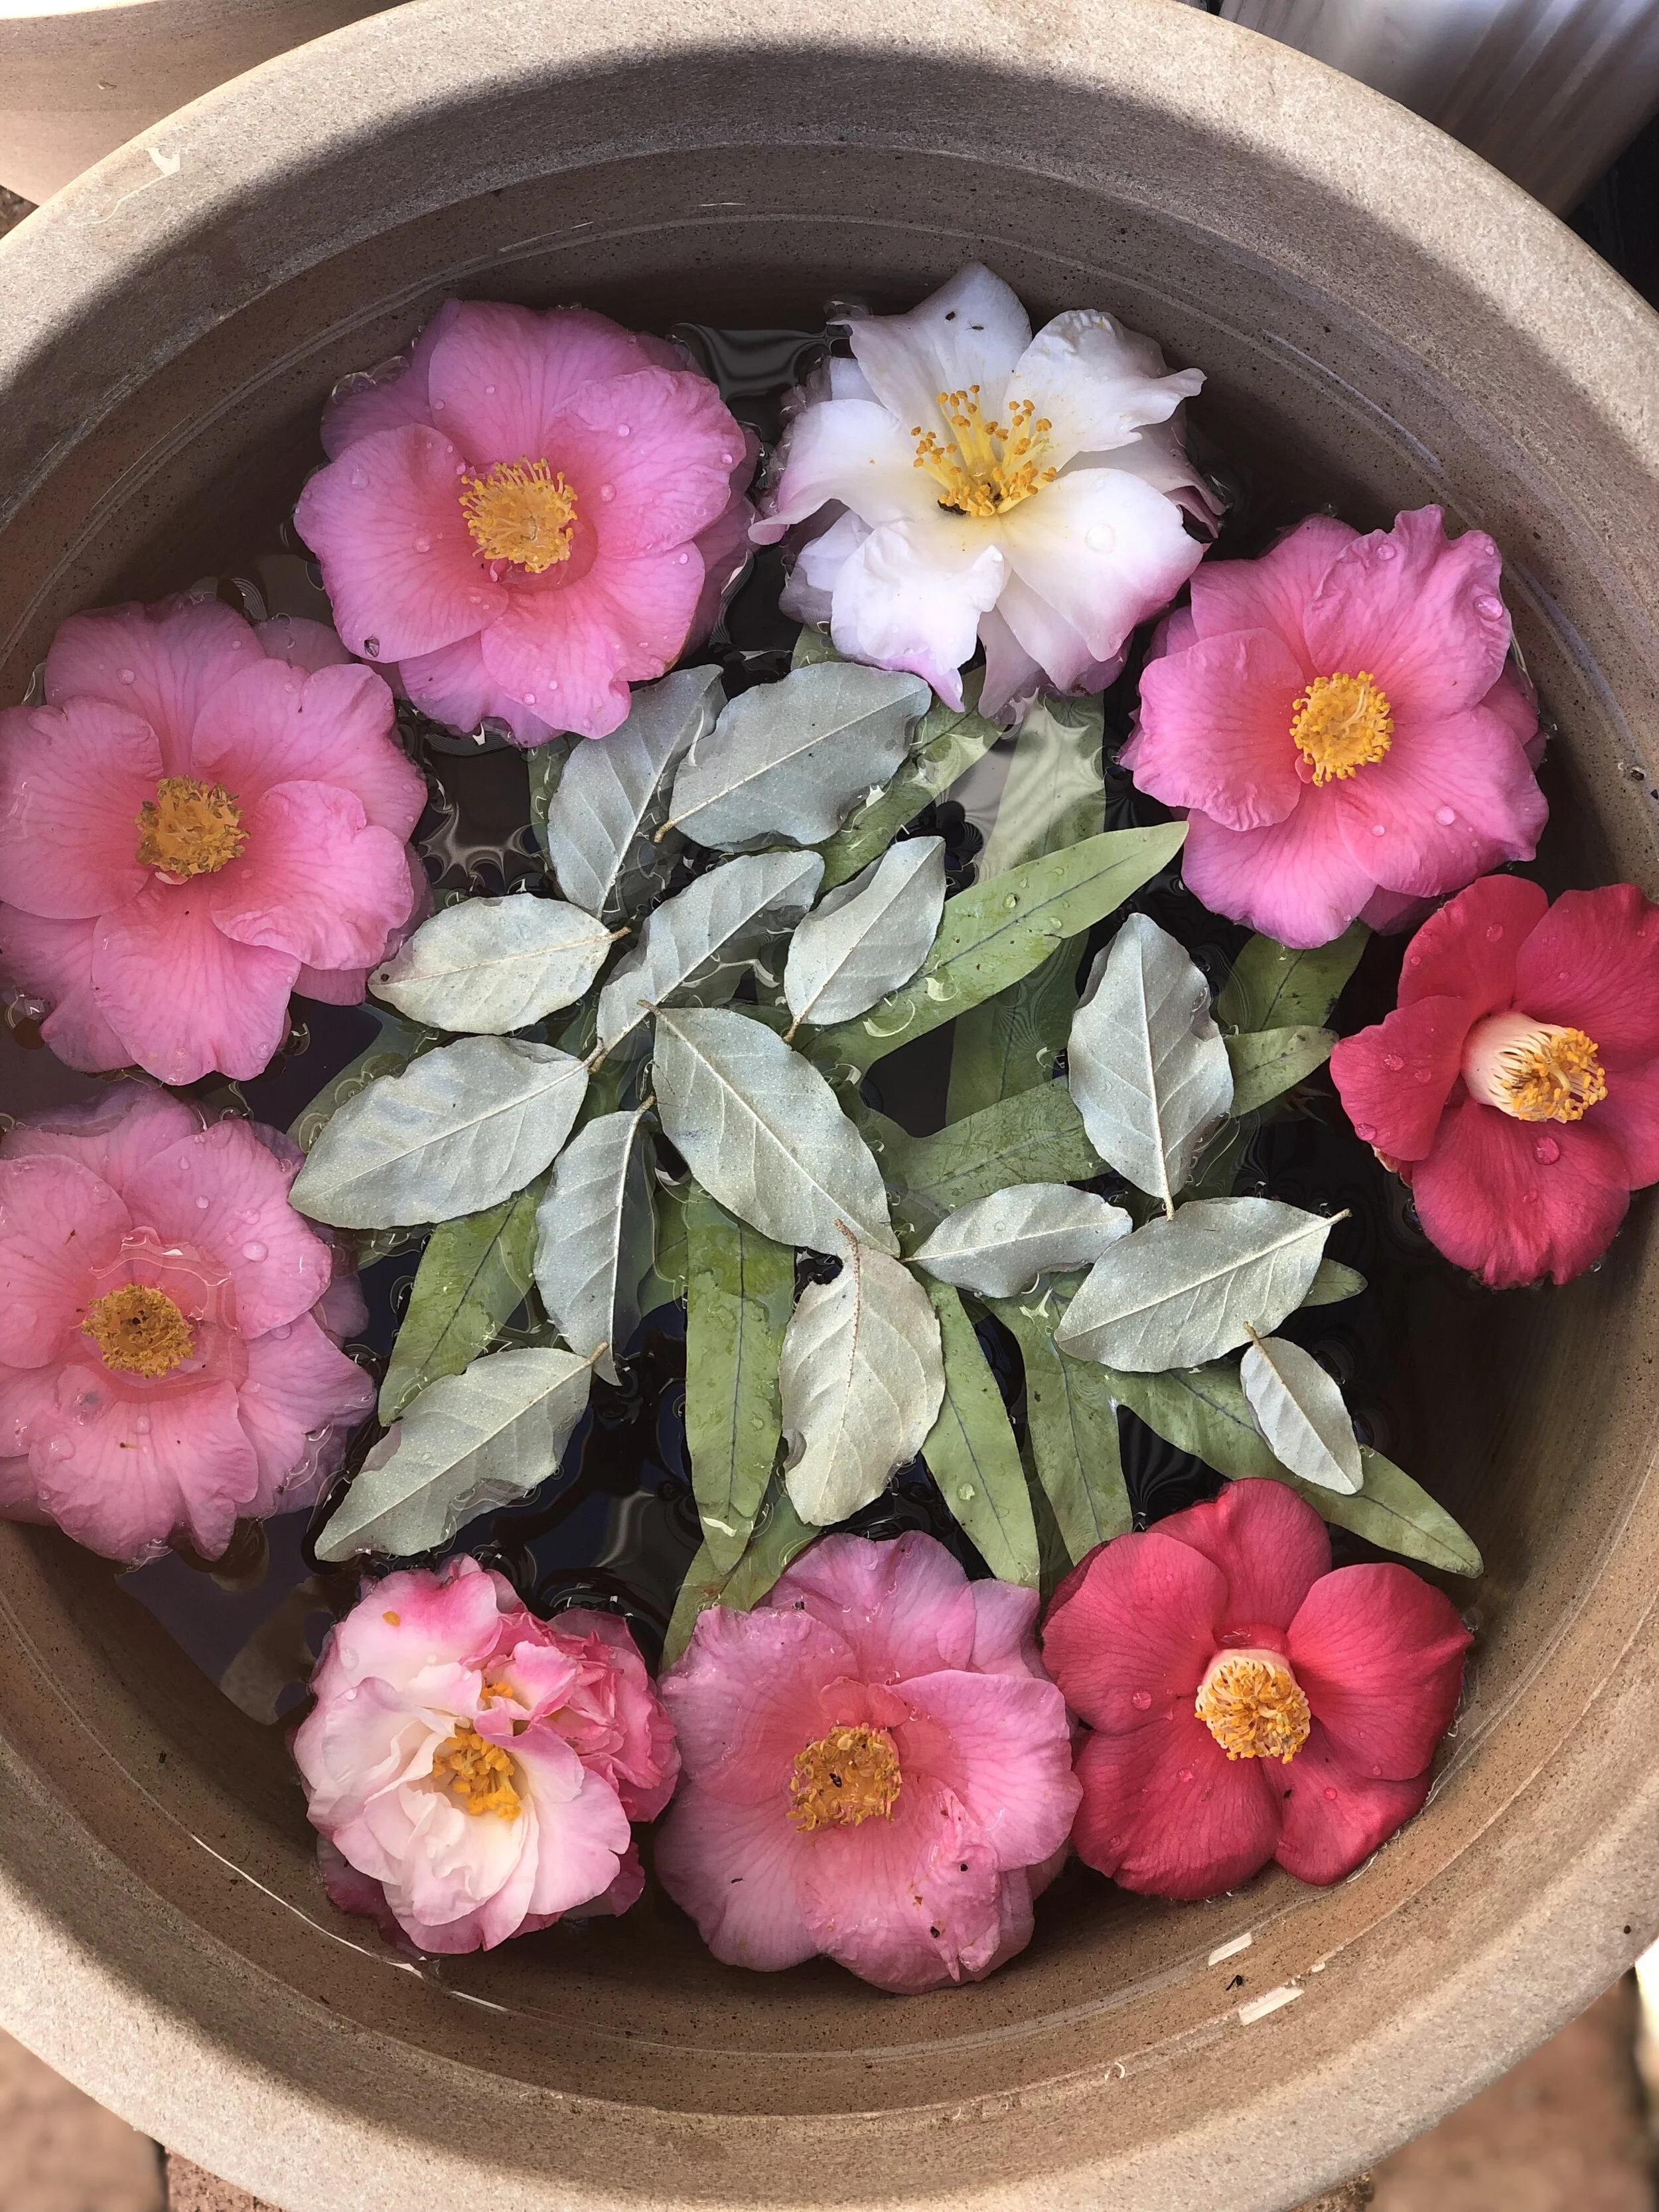


Floating arrangements are not something I invented- far from it! I saw these first at Chanticleer Garden and was captivated by the dynamic displays. Initially I thought “I don’t have time for that, I travel too much.” That is an easy excuse that we have all used at some point in time. Upon further reflection I decided I needed to MAKE time, just like I do for answering emails and updating power point presentations. I needed to make time to slow down and be creative and look at my garden through a different lens. And, of course now, I HAVE NOTHING BUT TIME, so I am really raising the bar for my creativity.


HOW TO MAKE FLOATING ARRANGEMENTS
This is super easy, so no one can say they can’t!
1) Find a bucket or pot with no holes. Any size works!
2) Fill it with water
3) Gather flower, leaves, seed, etc from your garden or neighborhood (no judgement on where or what you collect!)
4) Float your collection and ENJOY!
5) Take photos and share with others using the Hashtags #FLOATINGARRANGEMENT #FLOATINGFLOWERS


MORE DETAILS AND FREQUENTLY ASKED QUESTIONS
WHAT TIME OF YEAR IS BEST? You can make these arrangements any time of the year. In colder climates, this is probably better when temps are above 32F. Here in zone 7, we can float flowers ALL WINTER with no problem.
I make floating arrangements through the cool season for a few reasons. First, these pots are used for hydroponic tomato production during the summer (April-October here in central NC). Another reason, is heat causes the plants to decay faster making this practice short lived. An additional concern is mosquitoes. For this reason I only have tubs of water with air pumps in them during mosquito season (which seems to be longer and longer every year.)
If you want to do this through the summer you will have to clean the water more frequently and make new arrangements daily. You can also add chlorine to help reduce algae and mosquitoes- I cover this in depth below.
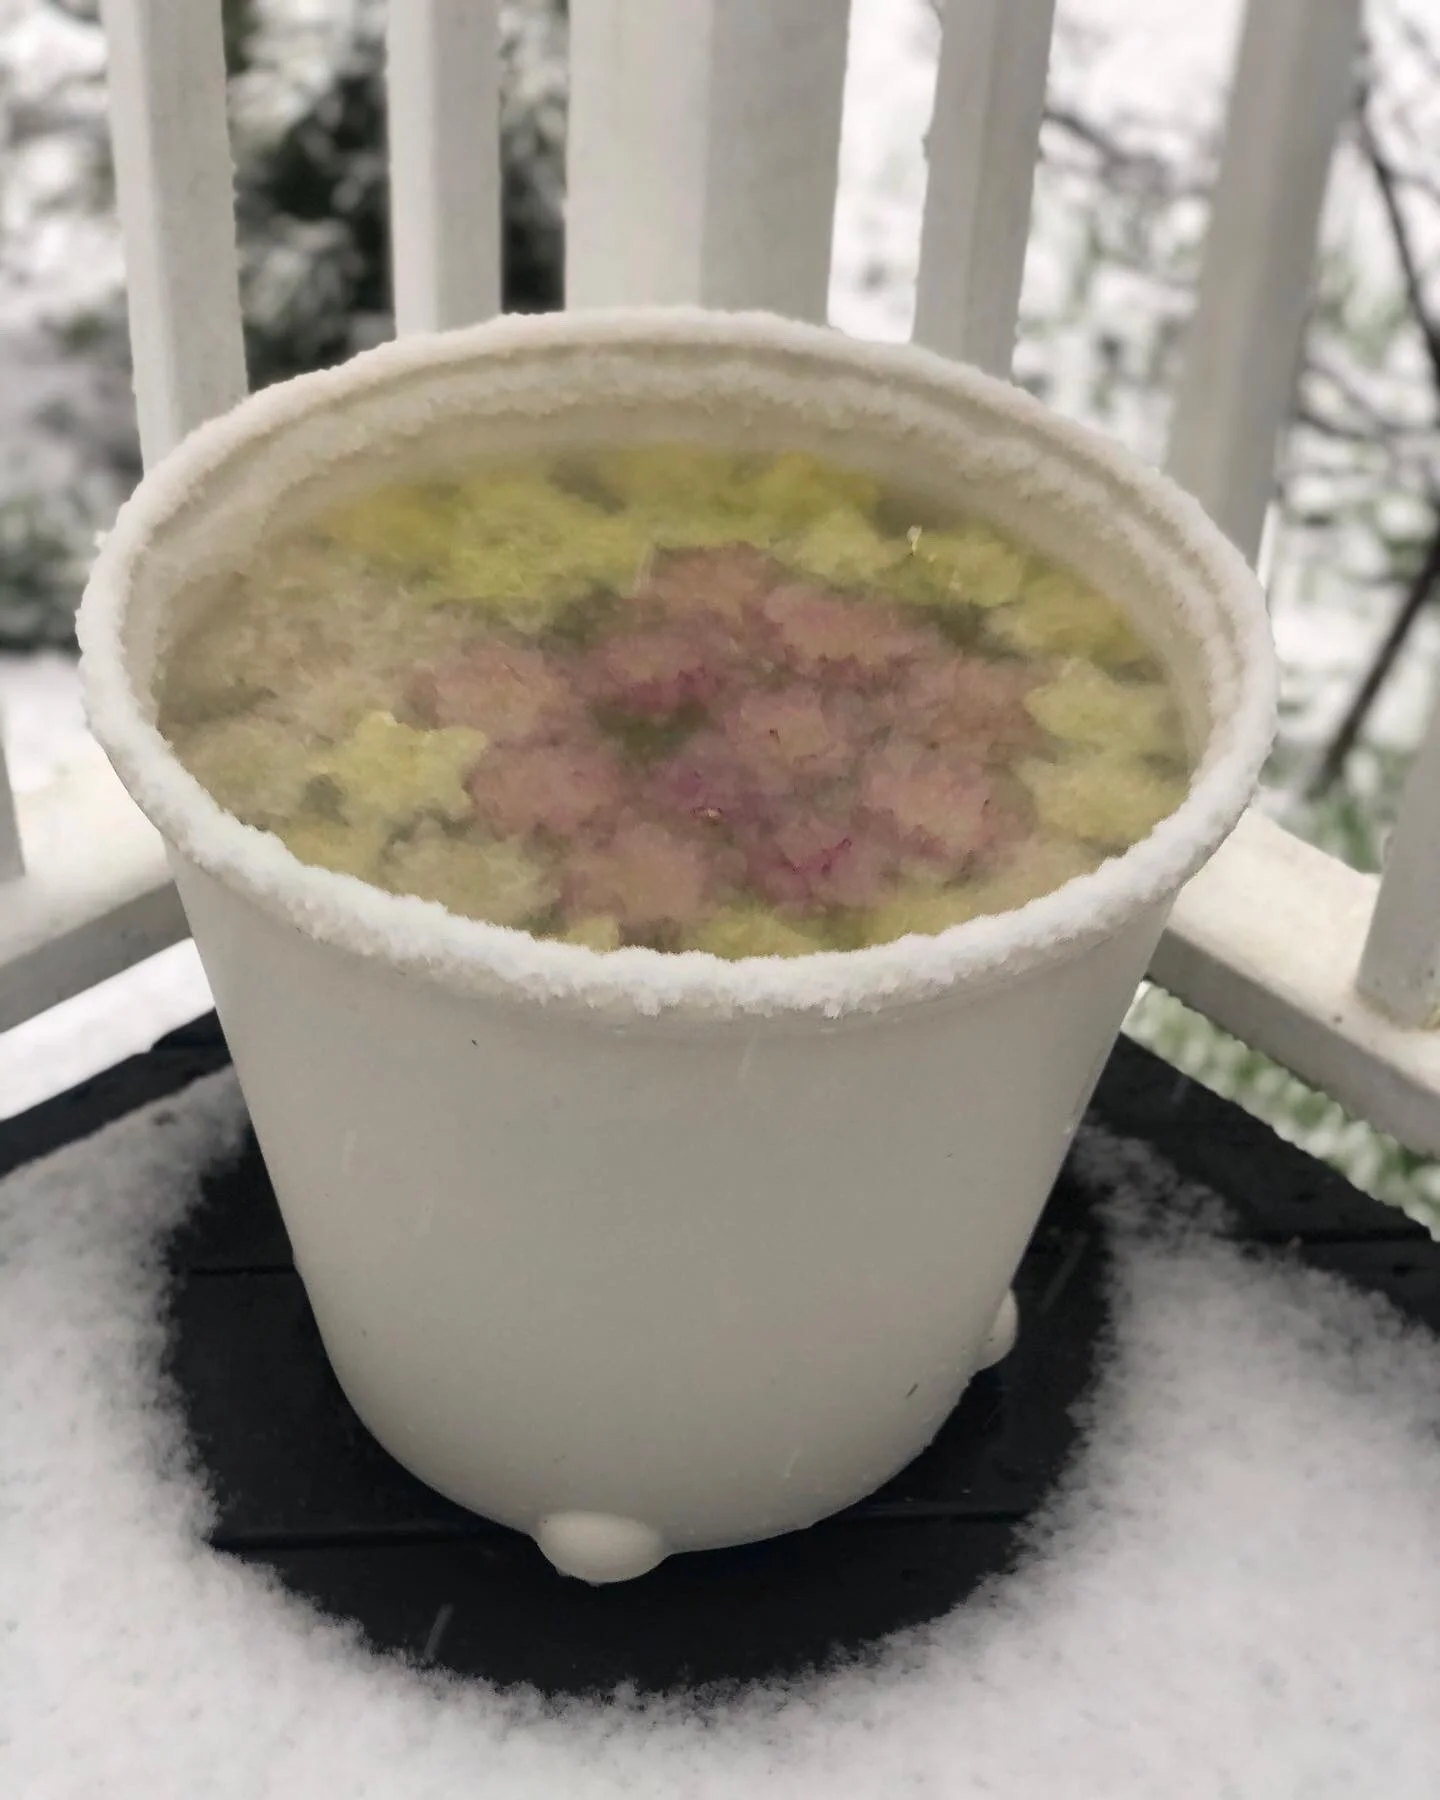
The reason I do mine through the winter months, is that with cooler temperatures the arrangements last a lot longer. Even through freezing weather, as long as you are using a plastic container you should be fine!
I have 3 PLASTIC pots set up for floating arrangements from October-April. In central NC we freeze almost every night in Dec-February (granted this was a very mild winter, we still got below 32 regularly). We also had a “big” snow- for NC standards. Remember I grew up in Michigan, so I do recognize the difference between a southern winter and the real thing above the Mason Dixon line. Anyhow, the arrangement that i had made for Valentine’s Day literally froze in place and looked awesome! It also lasted for 10 days thanks to the colder temperatures!


Watch this YouTube video on making winter floating arrangements.
WHAT KIND OF CONTAINER CAN YOU USE? You can use ANY container that holds water. I use plastic 5gl and 7gl pots. If you have ceramic pots, I recommend using those during frost free months.
You can find plastic pots from Lowe’s and Ikea- that is where all of mine have come from. Usually I would drill holes in them to use for normal planters. I am really glad I stopped myself and saved a few for holding water.

These 7gl plastic vessels are from Lowe’s and work perfectly for cool season arrangements on my western facing brick patio.

You can also do this in a bird bath! My sweet garden helpers have started making arrangements through-out our neighborhood to keep up morale and teach others how to do this practice. It has also been a great way to teach the botanical names of the plants!
WHERE SHOULD YOU PLACE THEM? Close to a water source! This is key, especially if you are using large pots, like me. They are really heavy when full, so place them in an area that you can easily get a hose to.
I have mine in sunny locations, which leads to the water heating up more quickly and causes the material to decompose. You can site them in sun or shade. Shade. A shady location would probably keep them looking fresh longer.
You can do this inside- in fact that is where I first started floating flowers, specifically camellias and fragrant Edgeworthia. But the heat of your house will make the flowers decompose rapidly. This is why I decided to take this practice outside. Plus, I can use larger vessels and make more interesting arrangements. But, the sky is the limit! Follow your creative spirit and have fun with it- inside and out!


HOW OFTEN DO YOU CHANGE THE WATER? This depends on the time of year. In the cool season, the water needs to be changed less frequently because the material does not break down as quickly. My rule of thumb is to refresh the pots and allow water to overflow to get rid of any organic matter floating around. I use a pool net to clear out the old, decaying flowers. if a green ring starts to form I dump the water out and scrub it clean. In warmer warmer weather I add a small chlorine tablet to ensure the the water stay fresh and mosquito free!
These vessels are also a source of water for “wildlife” including my kitties. But I have also seen birds using them, and am sure that nocturnal creatures like opossums and raccoons may also take a drink from them. For that reason I try not to add chemicals to the water and instead just clean the pots by hand.

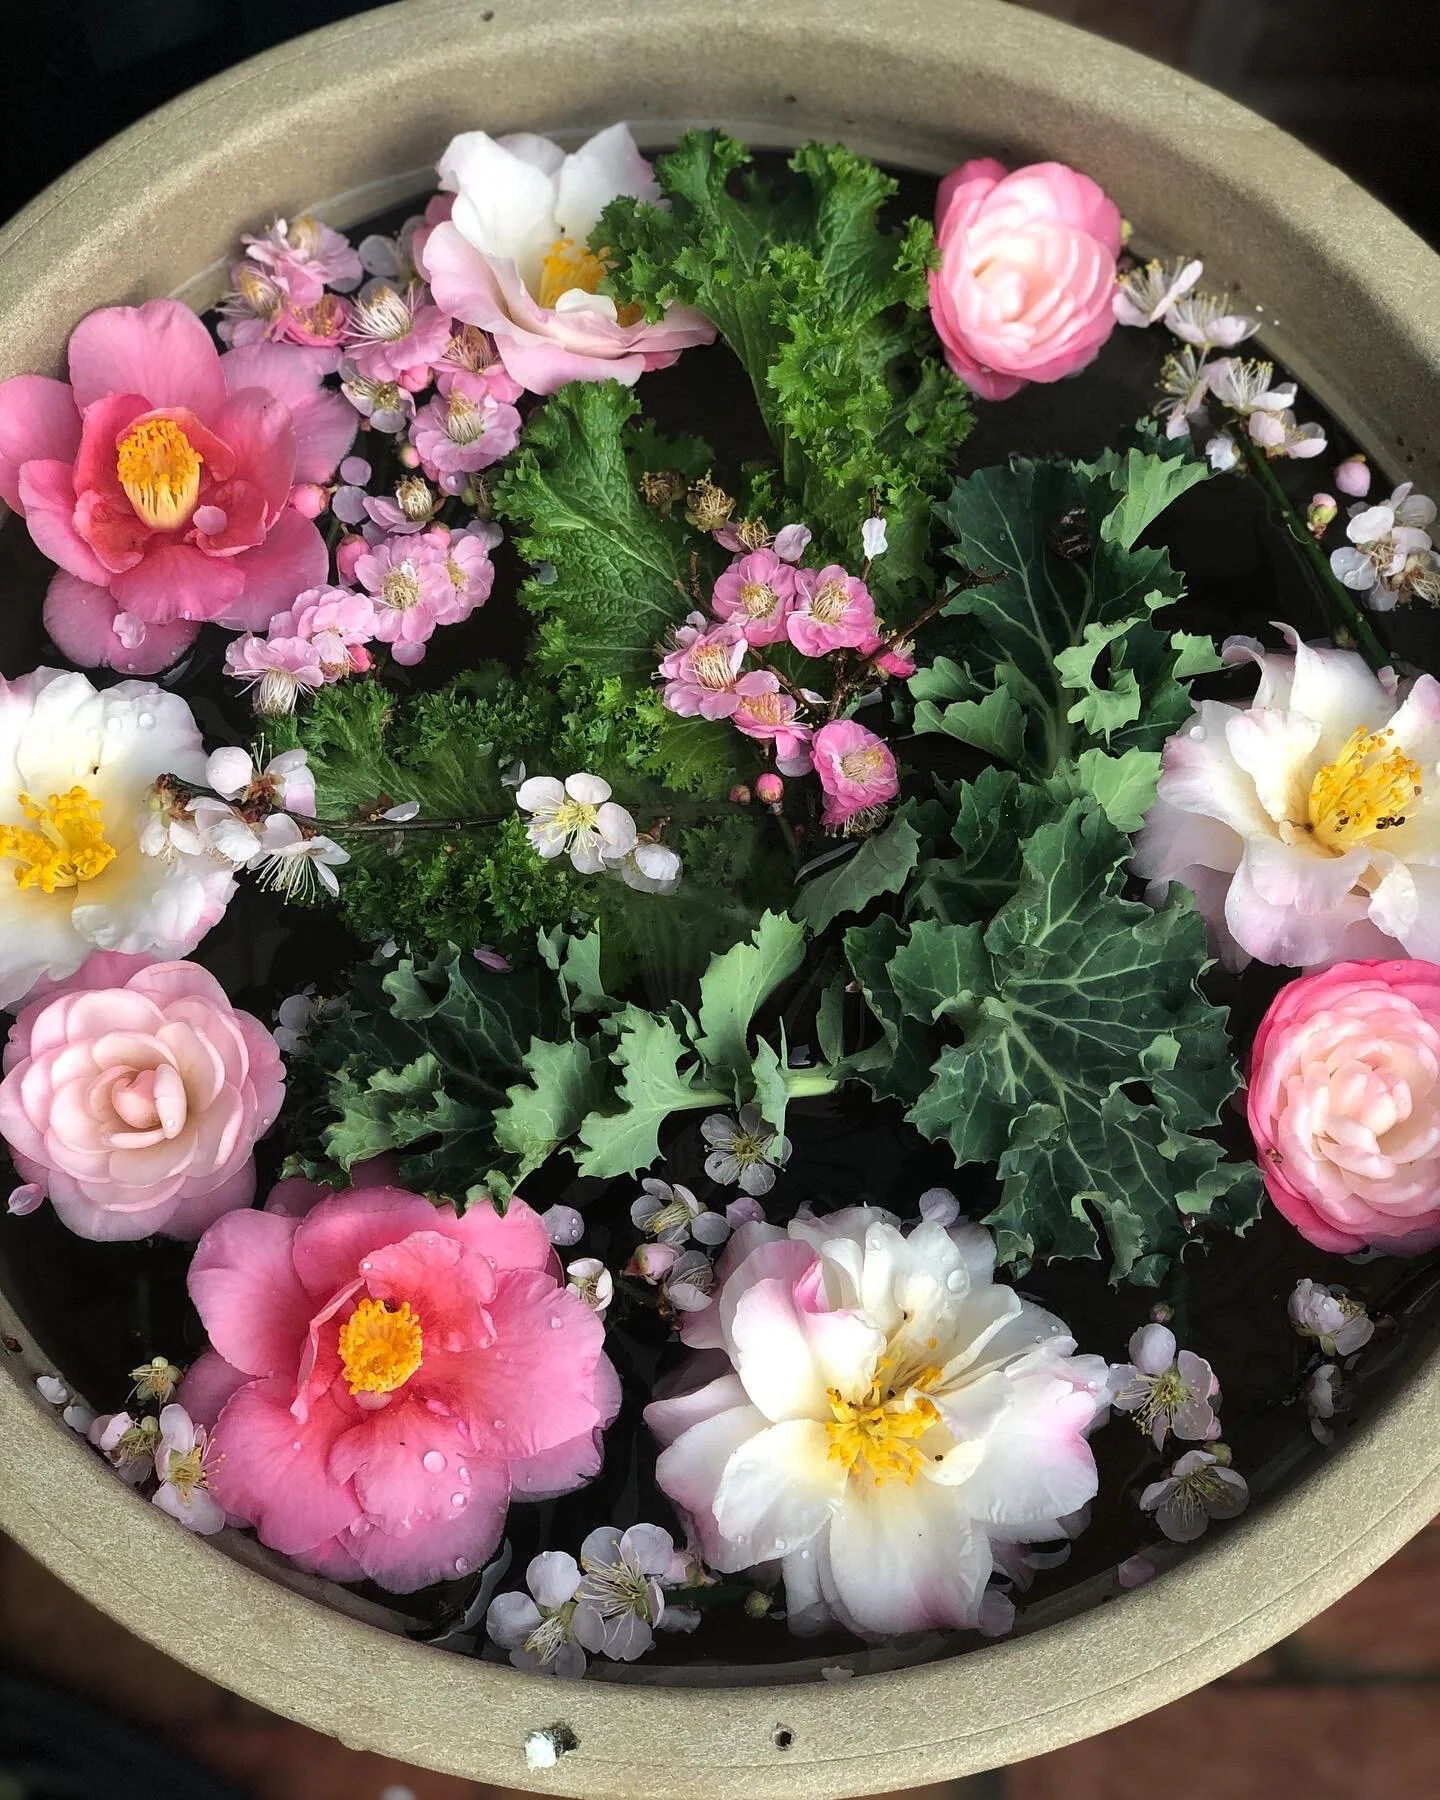
WHAT PLANTS WORK BEST? ALL PLANTS WORK! Some plants will last longer than others. Its a fun experiment to see what blooms and leaves are the longest “lived”. You will discover this over time. For instance, this week I learned that petunias do not last long- not even a day! In contrast, camellias look great for at least several days. Temperatures will play a big role in how the material performs. Violas, hellebores, and chrysanthemums are other seasonal favorites to float.
Here is a YouTube video identifying all the flowers Abby and Callie used for this weeks back patio arrangement.

HAVE FUN AND GET INSPIRED! This is the most important thing that we can ALL DO to ensure we make it through these strange days. We all need some time to decompress and not feel the weight of the world on our shoulders. This is one good way to help you get through your day and enjoy your garden in a unique way.
Thanks for reading and I wish you ALL THE VERY BEST! Please stay safe, stay healthy and stay home. We are in this together and our gardens just may be the best place to seek sanity, creativity and nourishment. I am here to help in anyway that I can!
Sincerely, Brie


